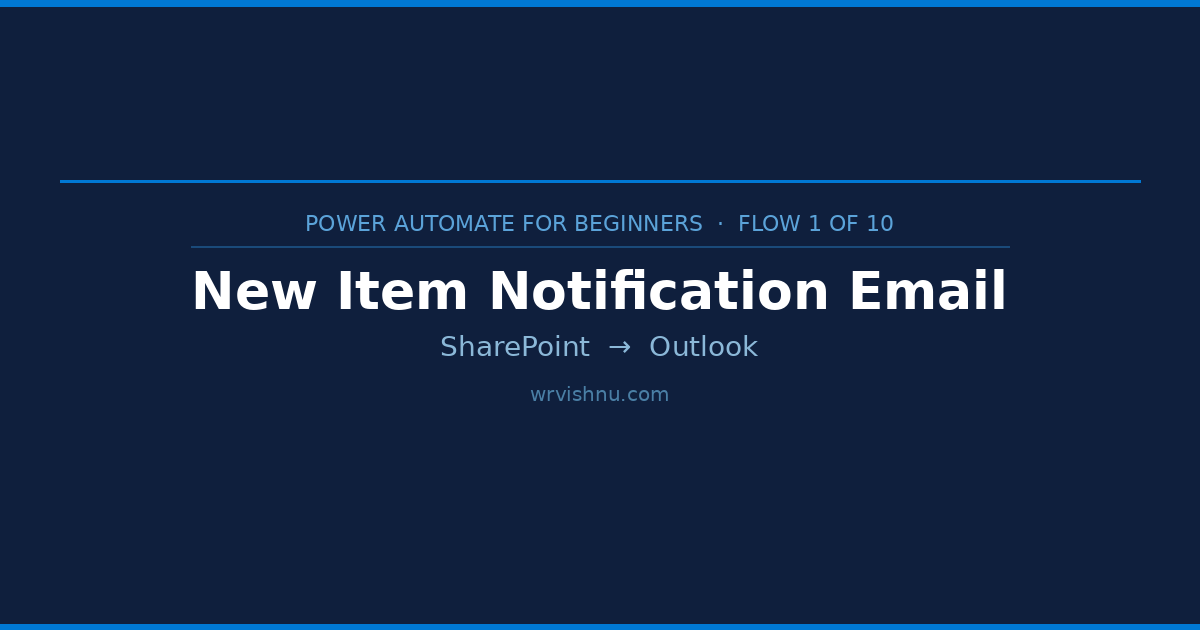
Power Automate SharePoint Email Notification: Master Your First Flow in 5 Easy Steps
Series: Power Automate for Beginners | SharePoint & Teams | Flow 1 of 10
If your team tracks requests, tasks, or submissions in a SharePoint list, you already know the problem — people forget to check it. Items pile up unnoticed while the person responsible has no idea anything has landed.
A Power Automate SharePoint email notification solves this completely. The moment a new item is added to your list, an automatic email goes straight to whoever needs to act on it — with all the relevant details included.
This is Flow #1 in the Power Automate for Beginners series and the perfect starting point if you have never built a flow before. You will have a working Power Automate SharePoint email notification running in about 15 minutes. By the end, you will understand the core building blocks that every other flow in this series builds on.
Table of Contents
- What You’ll Build
- Prerequisites
- Step-by-Step Guide
- Tips to Get More From This Flow
- Common Mistakes and How to Fix Them
- Download the Flow
- Frequently Asked Questions
What You’ll Build
A Power Automate SharePoint email notification that monitors a list and automatically sends an email — complete with the new item’s details — every time someone adds a new entry. This is a fully automated, no-code solution built using standard Microsoft 365 connectors.
What You’ll Learn
- What a trigger is and how it starts a flow automatically
- How to connect Power Automate to a SharePoint list to watch for new items
- How to use dynamic content to include real list data in your automated email
- How to use a Compose action to keep your flow clean and easy to maintain
- How to test your flow and confirm the SharePoint email notification is working
Prerequisites — What You Need Before You Start
Before building your Power Automate SharePoint email notification, run through this checklist. Having everything ready now will prevent delays mid-build.
Microsoft 365 Licensing
No premium licence is required for this flow. It uses only standard connectors — SharePoint and Office 365 Outlook — included with Microsoft 365 Business Basic, Business Standard, E3, and E5 plans.
Not sure what plan you have? Go to Microsoft 365 Admin Centre → Billing → Your products, or check with your IT administrator.
SharePoint List Setup
You need a SharePoint list created and ready before building the flow. Create a list called IT Support Requests with the following columns:
| Column Name | Column Type | Purpose |
|---|---|---|
| Title | Single line of text (built-in) | Name or subject of the request |
| Requester Name | Single line of text | Who submitted the request |
| Description | Multiple lines of text | Full details of the request |
| Priority | Choice: High / Medium / Low | Urgency level |
| Owner Email | Single line of text | Email address the notification is sent to |
How to create the list: On your SharePoint site, click + New → List → Blank list. Name it and click Create. Then use + Add column to add each column above.
Access Checklist
- ✅ A Microsoft 365 work or school account
- ✅ Access to make.powerautomate.com
- ✅ Read or Contribute access to your SharePoint list
- ✅ A Microsoft 365 mailbox to send and receive the test email
How to Build a Power Automate SharePoint Email Notification in 5 Steps
Every flow has two parts: a trigger (the event that starts the flow) and one or more actions (what happens in response). This Power Automate SharePoint email notification has one trigger and two actions — the simplest possible structure and the perfect place to start.
Step 1 — Create a New Automated Flow
Go to make.powerautomate.com and sign in with your Microsoft 365 account. In the left navigation panel, click + Create.
Under “Start from blank”, select Automated cloud flow. This type of flow runs automatically when a specific event occurs — in this case, a new SharePoint list item being created.
Name your flow Flow1 — New Item Notification Email. In the trigger search box, type SharePoint, select When an item is created, and click Create.
Step 2 — Set Up the SharePoint Trigger: Trg_NewSPItem
The trigger is the starting point of your Power Automate SharePoint email notification. It tells Power Automate exactly which list to watch and fires automatically the moment a new item is added.
The trigger card shows two fields to fill in. For Site Address, select your SharePoint site from the dropdown — or paste the full URL if it does not appear. For List Name, select IT Support Requests from the dropdown.
The trigger cannot be renamed in Power Automate — the Rename option is only available on actions. We use Trg_NewSPItem as the reference name for this trigger throughout the series so you always know which step we are referring to.
Step 3 — Build the Email Body: Cmp_BuildEmailBody
Before sending the automated SharePoint email notification, use a Compose action to prepare the message body. This separates your content from the delivery step, making the flow cleaner and easier to update later.
Click + New step, search for Compose, and select it from the Data Operation group. Rename the action to Cmp_BuildEmailBody.
In the Inputs field, type the template below. Then replace each bracketed value with dynamic content — the live data pulled directly from your SharePoint list item.
A new item has been submitted to the IT Support Requests list.

Title: [Title]
Requester: [Requester Name]
Priority: [Priority]
Description: [Description]

Please review this request at your earliest convenience.
To insert dynamic content, click inside the Inputs field where you want a value to appear, then click the lightning bolt icon. A panel opens on the right listing all fields from your SharePoint list. Click Title, Requester Name, Priority, and Description to insert each one in the correct position.
What is dynamic content? It is the actual data from the SharePoint item that triggered the flow — the real title, the real description, the real priority value. This is what makes every SharePoint email notification unique to the item that was just created.
Step 4 — Send the Email: Snd_EmailToOwner
This action delivers the Power Automate SharePoint email notification to the owner listed on the item. Click + New step, search for Send an email (V2), and select it from the Office 365 Outlook group. Rename the action to Snd_EmailToOwner.
Fill in the three fields using the table below:
| Field | What to enter |
|---|---|
| To | Dynamic content → select Owner Email from your SharePoint list |
| Subject | Type New Request: then add dynamic content → Title |
| Body | Dynamic content → under Cmp_BuildEmailBody → select Outputs |
For the Body field, select Outputs from the Compose step — not Inputs. Outputs is the fully resolved message with all dynamic values replaced by real SharePoint data. This keeps the Send Email action clean, with all formatting logic contained in one dedicated place.
Example of the finished automated email:
Subject: New Request: Laptop not connecting to VPN

A new item has been submitted to the IT Support Requests list.

Title: Laptop not connecting to VPN
Requester: Sarah Tan
Priority: High
Description: Since this morning, my laptop cannot connect to the company VPN.
I have tried restarting but the issue persists.

Please review this request at your earliest convenience.
Step 5 — Save and Test Your Flow
Click Save in the top-right corner of the Power Automate canvas. Once saved, click Test → Manually → Test.
While the flow waits, go to your SharePoint list and add a new item. Make sure the Owner Email column contains a real email address you can check.
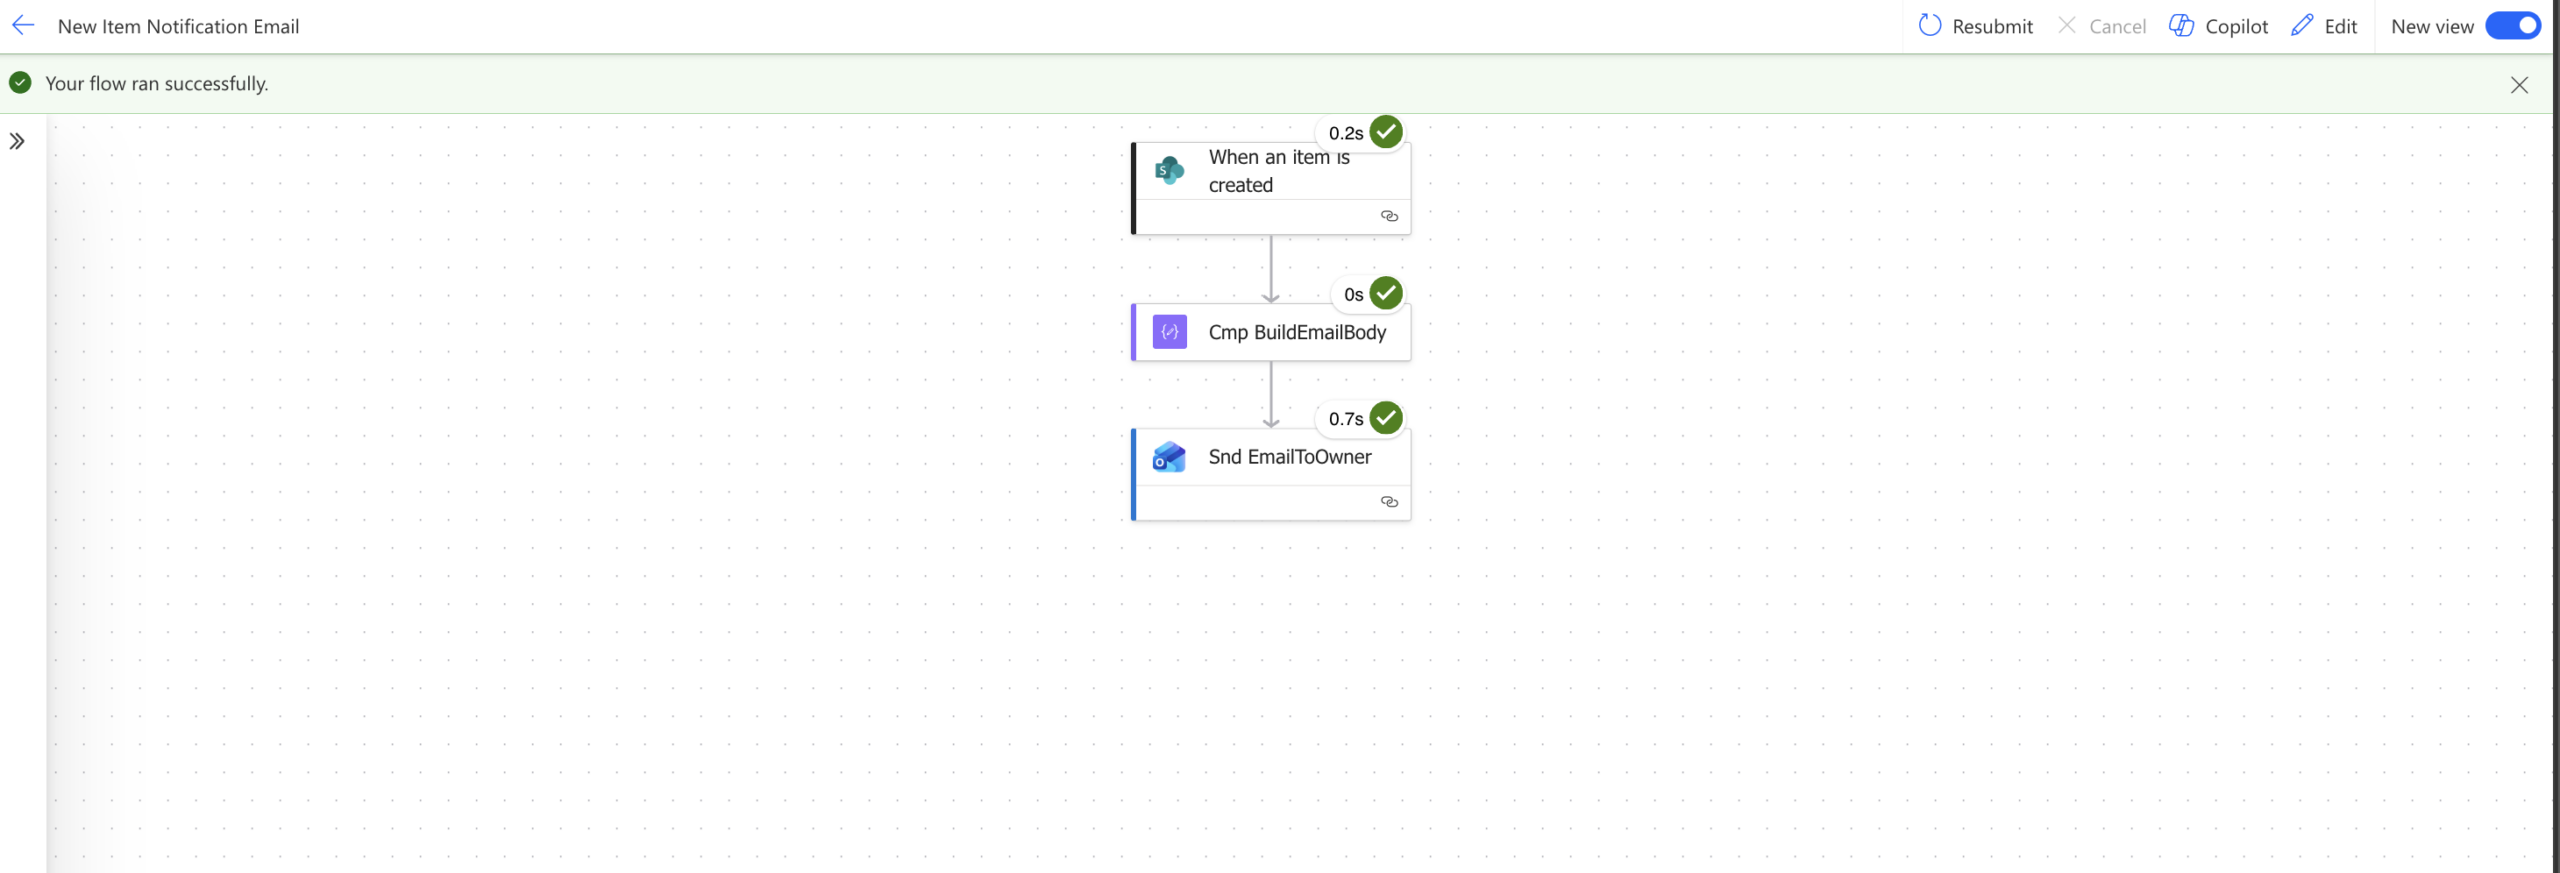
Return to Power Automate — all three steps should show a green tick confirming the flow ran successfully. Open the inbox of the email address you entered and confirm the SharePoint email notification has arrived with the correct item details.
Flow failed? Click the red step to read the error message. The most common causes are a wrong site address in the trigger, a wrong list name, or an empty Owner Email field in the test item. Fix the specific error shown and re-test.
Your completed Power Automate SharePoint email notification flow:
Trg_NewSPItem       ← Watches your SharePoint list for new items
      ↓
Cmp_BuildEmailBody  ← Builds the notification email using real SharePoint item data
      ↓
Snd_EmailToOwner    ← Sends the automated email to the Owner Email address
Tips to Get More From This Flow
- Notify multiple people: In the To field, add more addresses separated by semicolons — e.g.
owner@company.com; manager@company.com. Both will receive the SharePoint item email notification. - Add CC or BCC recipients: Expand Show advanced options in the Send Email action to reveal CC and BCC fields — useful for keeping a team inbox in the loop without making everyone a primary recipient.
- Format the email as HTML: Click the </> icon in the Body field to switch to HTML mode. Add bold headings, colour-coded priority labels, or a table layout to make notifications easier to scan at a glance.
- Send from a shared mailbox: Under Show advanced options, the From (Send as) field lets you send the notification from a department mailbox instead of your personal account — if your organisation allows it.
Common Mistakes and How to Fix Them
- Trigger not firing — wrong site address or list name: The most frequent cause of a failed Power Automate SharePoint email notification. Open the trigger card, clear both fields, and reselect from the dropdowns carefully.
- Email not sending — Owner Email column is empty: If the column has no value when you test, the To field is blank and the action fails. Always populate Owner Email when adding your test item.
- Using the old “Send an email” action: Always use Send an email (V2) — the original connector version is being retired and may produce unexpected behaviour.
- Not saving before testing: Power Automate does not auto-save. Always click Save before clicking Test — otherwise you are testing an older version of the flow.
- Selecting Inputs instead of Outputs from the Compose step: In the Body field, always select Outputs — that is the fully rendered message with all dynamic values resolved.
Download the Flow
You can download the ready-made solution package for this Power Automate SharePoint email notification and import it directly into your environment — no need to build from scratch.
📦 Download: Head over to GitHub to download Flow 1 — New Item Notification Email.
How to import the solution:
- Go to make.powerautomate.com → Solutions → Import solution.
- Click Browse, select the downloaded .zip file, and click Next.
- On the Connections step, sign in to SharePoint and Office 365 Outlook when prompted.
- Click Import and wait for the confirmation message.
- Open the imported flow, update Trg_NewSPItem with your own SharePoint site address and list name, then click Save.
Note: The solution file contains the flow structure only — your credentials are never stored in the export. You will always need to reconnect it to your own SharePoint site and list after importing.
Frequently Asked Questions
Do I need a premium Power Automate licence for this SharePoint email notification?
No. This flow uses only standard connectors — SharePoint and Office 365 Outlook — included in all core Microsoft 365 business plans. No Power Automate Premium licence is required.
Can the SharePoint email notification go to a different person for each item?
Yes. By using the Owner Email column as a dynamic value in the To field, each automated SharePoint email notification is automatically addressed to whoever is listed in that item — a different person every time if needed.
Will this Power Automate flow trigger when I edit an existing SharePoint item?
No. The trigger When an item is created fires only when a brand new item is added to the list. It does not fire on edits. If you need notifications for edits as well, use the When an item is created or modified trigger instead.
Can I use this flow with any SharePoint list?
Yes. The Power Automate SharePoint email notification works with any SharePoint list in your Microsoft 365 tenant. Simply update the Site Address and List Name in the trigger to point to the list you want to monitor.
Stay Updated
This is the first flow in the series. More flows — covering scheduled reminders, Teams notifications, approvals, and advanced SharePoint automation — are published regularly.
Follow along at wrvishnu.com for future posts in the series.